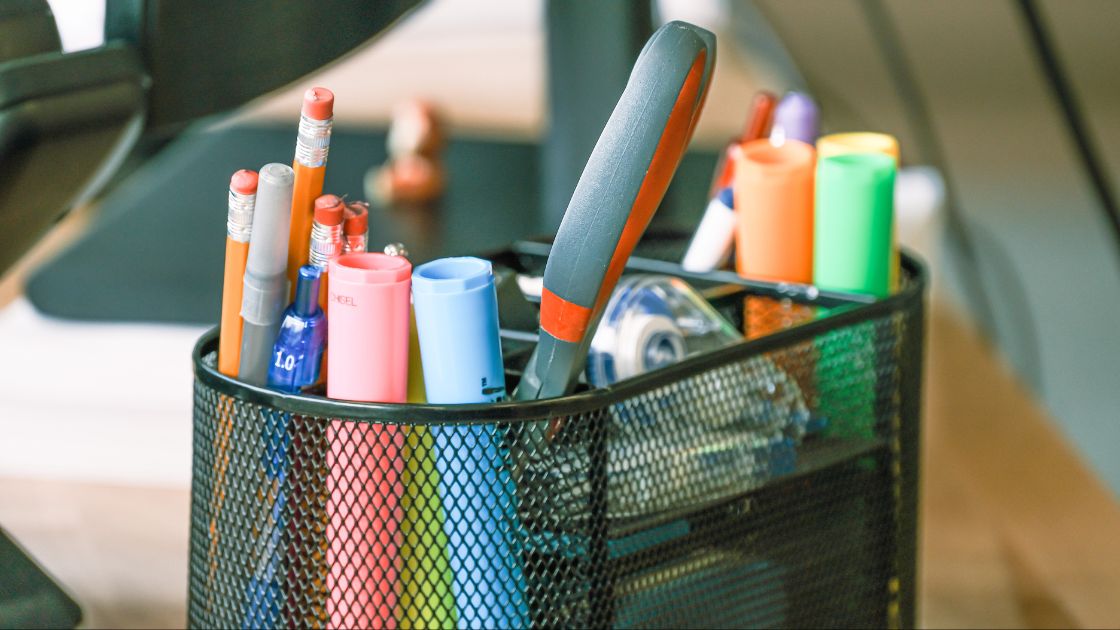
In today’s era of personalization and creativity, customizing everyday items has become a popular way to express individuality. One such item that can be tailored to personal taste is the pen holder, an essential desk accessory for many professionals and enthusiasts alike. With the advent of 3D printing technology, crafting custom pen holders has never been easier or more accessible. In this guide, we’ll walk through the detailed steps involved in creating a unique pen holder using 3D printing.
Contents
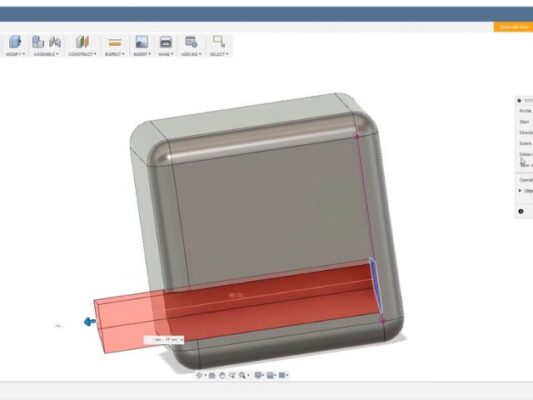
Step 1: Designing the Pen Holder
- Choose Design Software: Select suitable design software such as Tinkercad, SketchUp, or Fusion 360 for creating the digital model of your pen holder.
- Sketch the Design: Begin by sketching out your desired pen holder design, considering factors such as size, shape, and additional features like compartments or embellishments. 1.3 Create the Digital Model: Use the chosen design software to translate your sketch into a digital 3D model. Pay attention to dimensions and proportions to ensure compatibility with your pens or pencils.
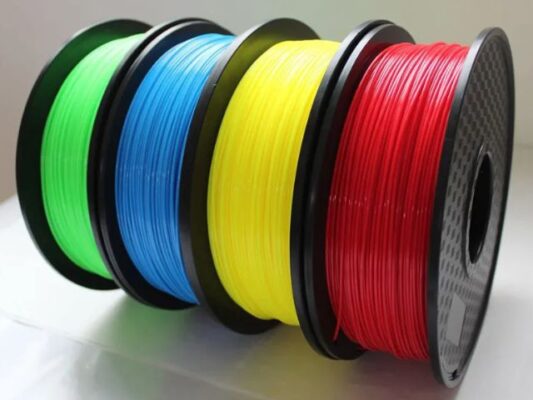
Step 2: Material Selection
- Consider Material Properties: Evaluate different 3D printing materials such as PLA, ABS, PETG, or resin based on factors like durability, heat resistance, texture, and finish.
- Choose the Material: Select a material that aligns with your design requirements and preferences. PLA is a popular choice for its ease of use, vibrant color options, and affordability.
Step 3: Customization Options
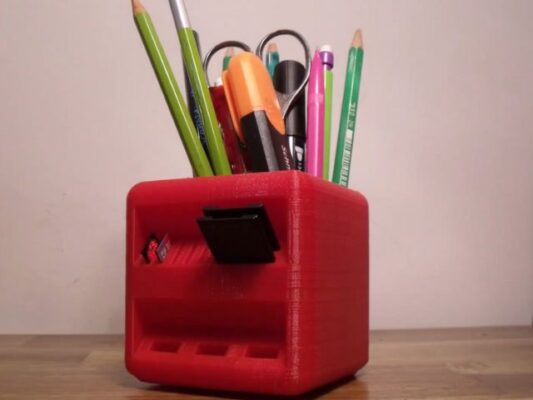
- Personalize the Design: Explore customization options such as adding initials, logos, or decorative motifs to the surface of the pen holder.
- Incorporate Functional Features: Enhance the usability of your pen holder by incorporating functional elements like slots for business cards, charging docks for electronic devices, or compartments for office supplies.

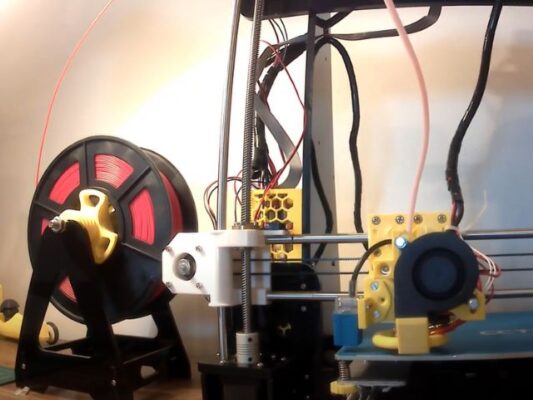
Step 4: Printing Process
- Prepare the Printer: Calibrate your 3D printer settings including layer height, infill density, and print speed based on your chosen material and design complexity.
- Load the Filament: Load the selected filament into the printer and ensure that the print bed is properly leveled and heated according to the material specifications.
- Start the Print: Initiate the printing process and monitor the progress to ensure proper adhesion and layer deposition. Depending on the complexity of the design and chosen material, printing may take several hours to complete.
Step 5: Finishing Touches
- Remove Support Structures: Once printing is complete, carefully remove any support structures or rafts using tools such as pliers or flush cutters.
- Sand and Smooth: Use sandpaper or files to smooth out any rough edges or imperfections on the surface of the pen holder.
- Apply Surface Finishes: Optionally, apply surface finishes such as paint, varnish, or epoxy resin to enhance the appearance and durability of the pen holder.
- Place on Desk: Once post-processing is complete, place your custom pen holder on your desk and admire your handiwork. Enjoy the personalized touch it adds to your workspace!
Crafting custom pen holders with 3D printing technology offers a fun and rewarding way to showcase creativity and personality in your workspace. By following these detailed steps, anyone can design and produce a unique pen holder that perfectly suits their style and functional needs. Whether for personal use, gifts, or promotional items, custom pen holders created with 3D printing are sure to make a statement and elevate any desk setup.
Related Posts