
Embroidered necklaces serve as more than just accessories; they are reflections of creativity and personal flair. Crafting your own unique necklace requires only a few materials and basic embroidery skills, resulting in a stunning piece that adds elegance to any ensemble. This step-by-step guide walks you through the process, from selecting materials to adding the finishing touches.
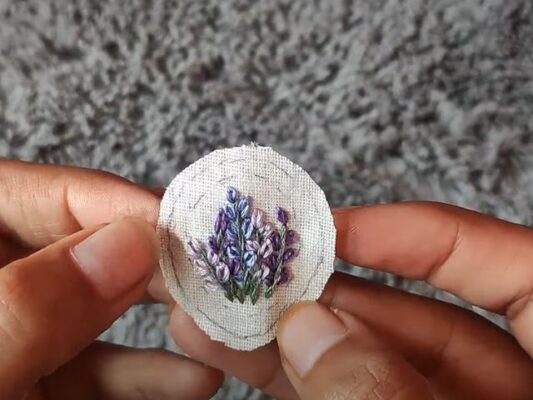
The design features realistic blooms of flowers created using the raised technique of woven wheel – also known as a woven spider web or woven rose. This fabulous pendant is quick to make and inexpensive to whip up, making it the perfect candidate for a homemade gift! If you know someone who loves jewelry, flowers and everything homemade, then this is perfect. It can also be made into brooches or used as trinkets if you prefer. This will be a great project for beginners and will make satisfyingly quick stitches for the pros out there.
Contents
Materials Needed
- Base fabric (e.g., felt)
- Iron-on interfacing
- Embroidery thread in assorted colors
- Bezel pendant setting
- Embroidery hoop
- Embroidery needles
- Scissors
- PVA glue
- Chain or cord
- Jump rings
- A clasp
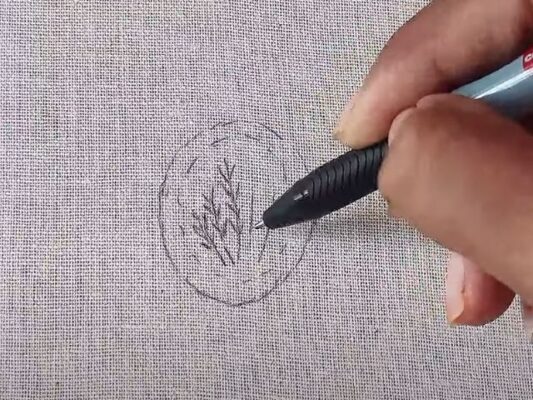
Step 1: Design Your Pattern
Sketch your design on fabric, considering the size and shape of your necklace. Simple shapes or floral motifs are ideal for beginners, but feel free to explore your creativity.
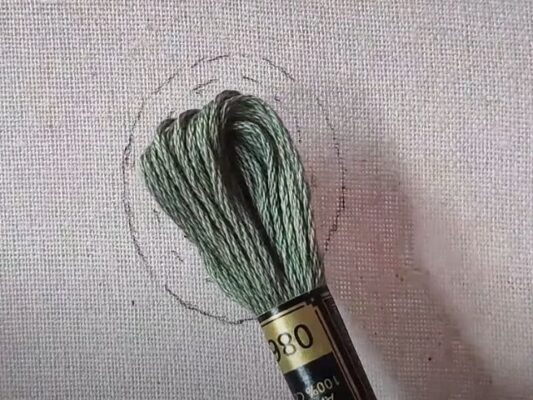
Step 2: Choose Your Colors
Select embroidery floss that complements your design. Thread your needle and knot the end.
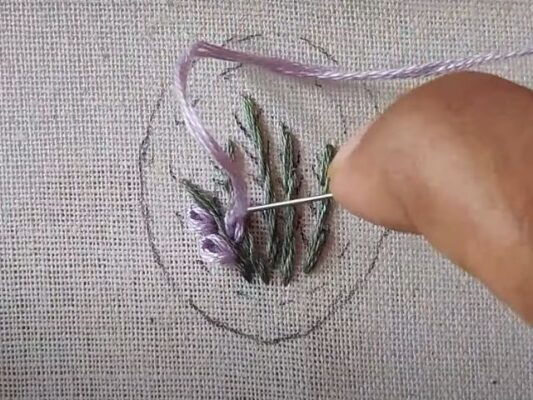
Step 3: Begin Embroidering
Stitch your design using basic embroidery stitches like backstitch or satin stitch. Take your time and enjoy the process.
Step 4: Add Embellishments
Enhance your embroidery with beads or sequins for added texture and sparkle.
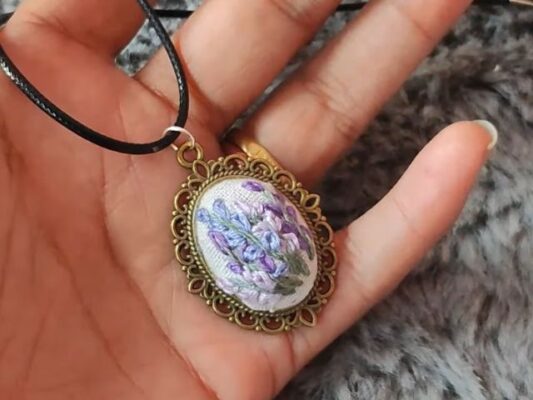
Step 5: Finish and Assemble
Trim excess fabric, fold edges under, and secure with glue. Attach the embroidered piece to a necklace chain using jump rings.

Tips & Tricks:
- Opt for lightweight fabrics like cotton or linen.
- Practice stitches on scrap fabric first.
- Invest in quality materials for better results.
- Experiment with different stitches and textures.
- Maintain consistency for a polished look.
- Secure loose ends to prevent unraveling.
- Personalize your design with initials or symbols.
- Consider adding beads or charms for extra flair.
Creating an embroidered necklace is a rewarding craft that allows you to showcase your individual style. With practice and creativity, you can design beautiful necklaces that reflect your personality and creativity. So gather your materials, unleash your imagination, and start stitching your way to a unique accessory!
Related Posts