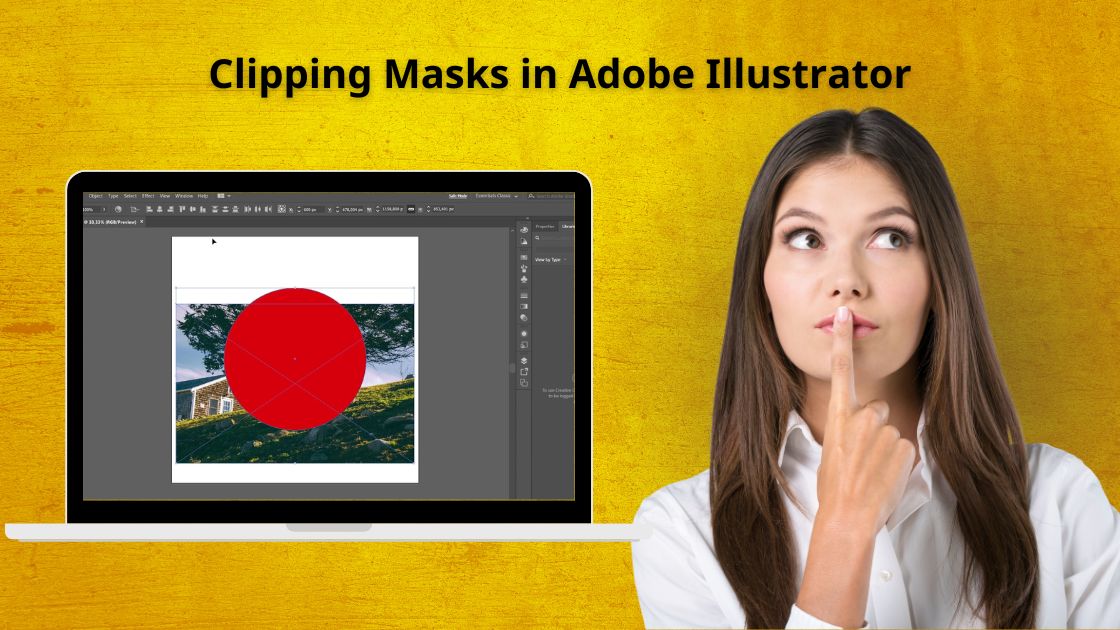
Adobe Illustrator, a powerhouse in graphic design, unleashes a plethora of creative possibilities. One such advanced feature that can elevate your design game is the clipping mask. This technique enables you to create visually striking and complex compositions by seamlessly blending shapes, images, and text. In this guide, we’ll delve into the intricacies of making a clipping mask in Illustrator, uncovering the artistic potential it holds.
Contents
What is a Clipping Mask?
Before we dive into the ‘how,’ let’s understand the ‘what.’ A clipping mask is a versatile tool that allows you to limit the visibility of elements within a certain shape. Think of it as a window through which you view specific portions of your artwork. This technique provides a non-destructive way to combine various elements without altering the original content.
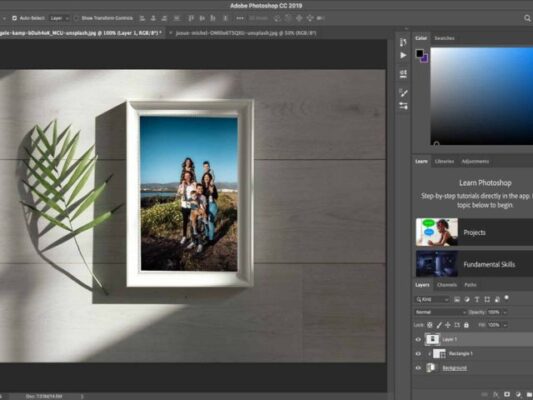
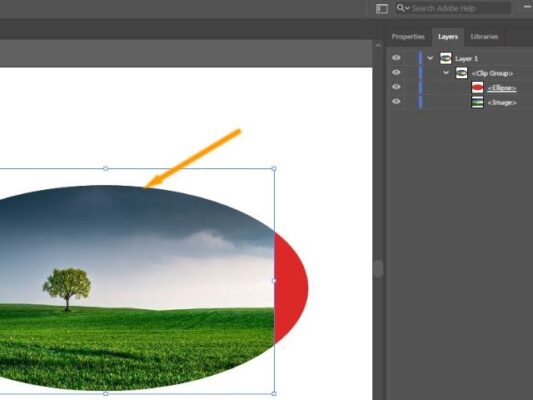
A clipping mask is a group of layers to which a mask is applied. The bottommost layer, or base layer, defines the visible boundaries of the entire group. For example, suppose you have a shape in the base layer, a photograph in the layer above it, and text in the topmost layer. If the photograph and text appear only through the shape outline in the base layer, they also take on the opacity of the base layer.
Adobe.com
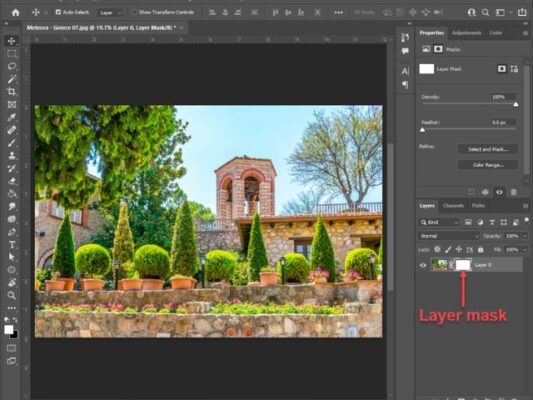
The Difference Between a Layer Mask and Clipping Mask
While both layer masks and clipping masks control visibility, they differ in their application. Layer masks are typically used to hide or reveal portions of a layer, affecting everything within it. On the other hand, a clipping mask allows you to restrict visibility based on a specific shape, giving you more precision in defining the areas you want to show or hide.
When to Use a Clipping Mask in Graphic Design
Understanding when to employ a clipping mask is crucial for effective graphic design. This technique is particularly handy when you want to create intricate compositions, blend images seamlessly, or precisely control where your elements are visible. Whether you’re crafting logos, illustrations, or digital art, clipping masks can be a game-changer in achieving polished and professional results.
How to Make a Clipping Mask in Adobe Illustrator
Now, let’s embark on the journey of creating a clipping mask in Illustrator. Follow these step-by-step instructions to unlock the potential of this powerful tool:
- Open Illustrator and Import Your Elements:
- Launch Adobe Illustrator and import the elements you want to work with. This could include shapes, images, or text.
- Arrange Your Elements:
- Position your elements in the desired arrangement. This step is crucial as the clipping mask will use the topmost object to define the visibility of the layers beneath it.
- Select All Elements:
- Select all the elements you want to include in the clipping mask. You can do this by holding down the Shift key and clicking on each element.
- Create the Clipping Mask:
- Navigate to the “Object” menu, choose “Clipping Mask,” and then click “Make.” Alternatively, you can use the shortcut (Ctrl + 7 for Windows or Command + 7 for Mac).
- Refine and Edit:
- With the clipping mask created, you can still make adjustments. Simply double-click on the mask to enter isolation mode. Here, you can move, resize, or edit the elements within the mask without affecting the original elements.
- Release the Clipping Mask:
- If you ever need to release the clipping mask, right-click on it and choose “Release Clipping Mask.”
Conclusion
In conclusion, mastering the art of creating a clipping mask in Adobe Illustrator opens up a world of creative possibilities. This technique empowers designers to craft intricate compositions, seamlessly blend elements, and maintain control over the visibility of their artwork. As you integrate clipping masks into your workflow, experiment, and push the boundaries of your creativity to unveil the true artistic power that Illustrator has to offer. Happy designing!
Related Posts